
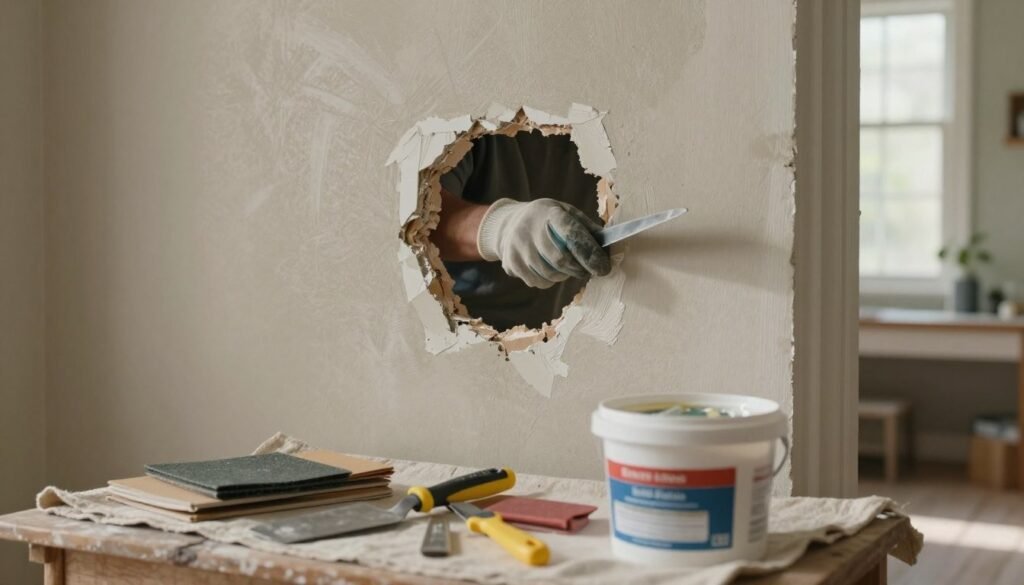
Finding unexpected damage on your walls can be really frustrating. Many people think they need to buy expensive kits for simple fixes.
But, you can get great results with things you probably have at home. Learning how to patch a hole in drywall without a kit saves you money and trips to the store.
This guide shows you practical, budget-friendly methods for fixing holes. These methods are both strong and look good. By following these easy steps, you can fix your walls like a pro. You can keep your home looking great without spending a lot on special kits.
Understanding the Scope of Drywall Damage
Not all drywall holes are the same. Knowing the difference is important for a good fix. Before starting any diy drywall hole repair, check the size and depth of the damage. This helps you decide if you can do it yourself or need a pro.
Identifying Small Nail Holes Versus Large Impact Damage
Small holes from picture hangers or nails are easy to fix. Just a little compound is needed to make the surface smooth. Filling drywall holes without special tools is simple for these small spots.
But, big holes from doorknobs or heavy furniture need more work. These holes often don’t have enough support for filler. You’ll need to add a strong support system to keep the patch from cracking.
“The quality of your repair is directly proportional to the accuracy of your initial assessment.”
When to Call a Professional for Structural Issues
Some repairs are better left to the pros. If the damage is near critical parts of your home, don’t try to fix it yourself. Look out for these warning signs before starting:
- Load-bearing walls: Damage that weakens a structural stud.
- Extensive water damage: Signs of mold, rot, or constant moisture.
- Electrical or plumbing hazards: Holes that show live wires or active pipes.
Knowing your limits is wise. If you’re not sure about the damage or think there might be structural problems, get a pro. This keeps your home safe and your repairs lasting longer.
Essential Tools and Materials for DIY Repair
Fixing diy drywall hole repair is easy with tools you might already have. You don’t need to buy expensive kits to get a professional look. Using common items can save you money and fix your walls well.
Gathering Household Alternatives to Patching Kits
Most tools you need for a great fix are probably in your toolbox. Instead of buying a kit, look for these items:
- Putty knives: A 4-inch or 6-inch blade is perfect for spreading compound evenly.
- Utility knives: Essential for cutting away loose paper or creating clean edges around the damage.
- Scrap wood: Small pieces of plywood or furring strips work perfectly as backing support for larger holes.
- Sandpaper: A variety of grits will help you achieve a seamless transition between the patch and the wall.
Selecting the Right Joint Compound and Sandpaper
The key to filling drywall holes without special tools is choosing the right materials. For small dings or nail holes, a lightweight spackle works well. It dries fast and shrinks little. For bigger damage, use an all-purpose joint compound for strength and durability.
After the compound dries, picking the right sandpaper is important. Start with 120-grit sandpaper for leveling. Then, use 220-grit sandpaper to smooth out the edges. This makes sure the surface matches the wall.
How to Patch a Hole in Drywall Without a Kit
Learning how to patch a hole in drywall without a kit is a useful skill for homeowners. You can get professional results with basic items. This keeps your walls smooth and strong.
Step One: Clearing Debris and Creating a Clean Edge
Start by removing loose debris from the hole. Use a utility knife to cut away jagged edges. Creating a clean, beveled edge is key. It helps the joint compound stick well.
Step Two: Creating a Backing Support for Larger Holes
For big holes, you need a strong base. A simple method is to use wood or cardboard behind the drywall. Slide it through the hole and secure with screws or adhesive.
This support keeps the patch steady. It stops it from sagging or pushing in. A solid base is key for a lasting finish.
Step Three: Applying the Mesh or Paper Tape
After securing the backing, add reinforcement to prevent cracks. Use mesh or paper tape over the hole. It helps keep the wall stable against settling or vibrations.
Ensure the tape overlaps the hole by at least an inch on all sides. Press it firmly for a smooth finish. This step adds strength for a lasting repair.
Preparing the Damaged Area for a Seamless Finish
The secret to a flawless wall repair is in the prep work before applying compound. By using simple drywall patching methods, your repair will look professional and last long. Good prep work makes the surface stable, preventing future damage.
Removing Loose Paper and Drywall Dust
First, check the hole’s edges for torn paper or loose gypsum. Use a utility knife to trim frayed edges, which can cause bumps. Cleanliness is vital, so vacuum or damp cloth the area to remove dust.
If dust stays in the hole, the compound won’t stick well. Wipe the area clean to ensure a strong repair. A clean surface is key for any easy drywall repair techniques.
Applying the First Layer of Joint Compound
After cleaning, apply the first coat of compound. Press it firmly into the hole with a putty knife. Make sure it covers the void and sticks to the wall and backing.
Techniques for Avoiding Air Bubbles
Avoiding air bubbles is easy with the right method. Start applying compound from the center, moving outwards. This pushes air out and gives a smooth, dense finish.
Don’t overwork the compound once applied. If bubbles form, press them out gently with your knife before it sets. Even pressure is essential for a professional finish that matches your wall.
Applying Joint Compound and Achieving a Smooth Surface
After securing your backing, focus on making the patch blend seamlessly with the wall. This is key when repairing drywall without a patch kit. It ensures the repair looks like part of the wall.
Mastering the Feathering Technique
The feathering technique is the secret to a seamless patch. It involves thinning the joint compound edges so they blend with the wall.
Apply less pressure with your putty knife as you move away from the hole’s center. This creates a smooth slope. It prevents a bump from showing when painted.
Layering Compound for Depth and Durability
It’s tempting to fill a hole all at once. But, using thin layers is better. Thick coats can shrink and crack as moisture evaporates.
Here’s how to achieve a strong finish:
- Start with a thin coat to fill the hole and secure the tape.
- Use a wider blade for each layer to widen the area.
- Keep each layer thin for even drying.
Allowing Proper Drying Time Between Coats
When patching holes in drywall on a budget, patience is key. Let the compound dry fully before adding more.
Adding new material over wet compound traps moisture. This can cause structural weakness, bubbling, or an uneven surface. Always wait until the compound is a consistent light color before moving on.
Sanding Techniques for Professional Results
Learning to sand well is key when you’re repairing drywall without a patch kit. This step decides if your fix is invisible or stands out. Taking your time ensures a smooth finish that covers up the damage.
Choosing the Correct Grit for Initial and Final Sanding
Begin with a medium-grit sandpaper, about 120-grit, to even out the joint compound. This grit is strong enough to smooth out the surface without damaging the drywall.
After the surface is mostly even, move to a finer grit, like 220-grit, for the last sanding. This delicate touch gets rid of any scratches from the coarser paper, leaving a smooth surface for primer.
Using a Sanding Block for Even Pressure
Don’t sand with your bare hands, as it can cause uneven pressure and marks. Instead, use a sanding block or a flat piece of wood to sand.
The block ensures a consistent, flat surface that connects the patch to the wall. This tool is essential for anyone fixing holes in drywall on a budget, as it prevents over-sanding the edges.
Checking for Imperfections Under Raking Light
Even if the wall seems smooth, small bumps or dips might be hiding. Use a flashlight or work light held low against the wall to reveal these imperfections.
This method, called raking light, shows every tiny flaw that paint might cover. If you find any, apply a thin layer of compound, let it dry, and sand lightly again for a professional finish.
Painting and Blending the Patch with Existing Walls
Your diy wall repair without a patch kit is almost done. But, the last touches are key. A smooth surface looks off if the paint doesn’t match. Take your time to make sure your quick fix for drywall hole is invisible to everyone.
Applying Primer to Prevent Flashing
Using a high-quality primer is key to avoid flashing. Flashing happens when paint absorbs differently on the patch and the wall. Always use a dedicated drywall primer to seal and make a uniform surface for painting.
Matching Texture and Paint Sheen
Matching the wall texture is as important as matching the color. A flat paint on a textured wall will stand out. Select a roller with the right nap to match the wall’s texture.
Also, make sure the paint sheen matches the room. Using a satin finish where there’s a flat finish will make the repair obvious. Consistency in sheen is what makes it look professional.
Tips for Seamless Color Blending
To blend colors seamlessly, feather your paint outward from the patch. This blends the new paint with the old without a harsh line. Avoid heavy brush strokes by using a light touch with a good roller or brush.
If matching an older wall color is hard, take a paint sample to a hardware store. They can match it for you. With these steps, your diy wall repair without a patch kit will be completely hidden.
Conclusion
Learning to fix things at home lets you handle unexpected damage without spending a lot. A simple fix for drywall holes can save you time and money. It also keeps your home looking great.
You can now fix small wall problems with items you have at home. This shows that you can get professional-looking results without buying expensive kits. Fixing things yourself makes you feel proud.
Check your walls for other small issues that you can fix. Taking care of your walls keeps your home looking good and valuable. Share your success with friends and neighbors who might need help with their homes.
FAQ
How to patch a hole in drywall without a kit using common household items?
You can fix a hole like a pro with a piece of scrap wood or stiff cardboard. Place it behind the hole and secure it with Grip-Rite drywall screws. Then, cut a piece of drywall to fit the hole. This method is stronger than mesh kits and is a basic technique used by pros.
What is the best quick fix for a drywall hole caused by a doorknob?
For a fast fix, try the “California Patch” or butterfly patch. Use a piece of USG Sheetrock that’s a bit bigger than the hole. Remove the gypsum but keep the paper backing. It’s a top easy drywall repair technique for small to mid-sized holes.
Is filling drywall holes without special tools actually effective?
Yes, you can fill holes without special tools. For small dings and nail holes, use a plastic card or putty knife with DAP DryDex Spackle. This is a great way to fix minor cosmetic issues without needing a strong backing.
Which materials are essential for repairing drywall without a patch kit?
For a successful diy drywall hole repair, you’ll need joint compound, a utility knife, scrap drywall, and sandpaper. Use 3M Pro Grade Precision sandpaper for a smooth finish. A good primer like Kilz 2 All-Purpose will help the patch blend in with your paint.
What are the most reliable simple drywall patching methods for large holes?
For big holes, the “back-blocking” method is the best. Screw a wooden slat behind the drywall to create a ledge for the new patch. This method keeps the patch stable as the house settles.
How do I ensure a seamless blend when patching holes in drywall on a budget?
The key to easy drywall repair techniques is feathering. Apply thin layers of Sherwin-Williams joint compound, extending each layer. Use a Purdy paint roller to match the wall texture, making the repair almost invisible.
For more inspiration and ideas, visit: Hoome Estate