
The sound of running water in your bathroom is annoying. It also wastes a lot of water, raising your utility bills.
A bad seal is usually the main reason for this problem. Knowing how to stop a running toilet flapper is key for a well-run home.
You don’t have to call an expensive plumber. A few easy steps can effectively fix running toilet flapper issues yourself.
This guide will show you how to find and fix the problem. Taking action now will make your bathroom work right and save water for your home.
Understanding the Toilet Tank Mechanism
Knowing how your toilet works is key to a quiet bathroom. Many toilet flapper problems come from not understanding how these parts work together.
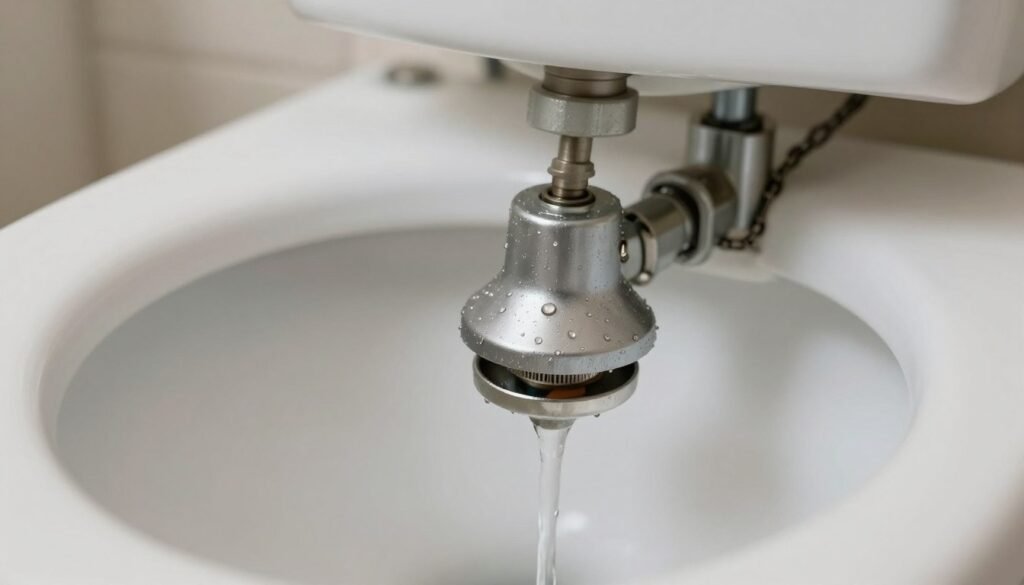
Components of a Standard Flush Valve
The flush valve controls your toilet’s water. It has the overflow tube, the flush valve seat, and a rubber flapper. The flapper is connected to the trip lever by a chain.
When you press the handle, the chain lifts the flapper. This lets water flow into the bowl. After the tank empties, the flapper closes, ready for the next refill.
How the Flapper Creates a Water-Tight Seal
The flapper seals the tank with gravity and water pressure. As the tank fills, the water’s weight pushes the rubber against the seat.
If the seal breaks, you’ll see a toilet flapper leaking. This leak wastes water and money, as the fill valve turns on often.
Common Signs of a Malfunctioning Flapper
Spotting early signs can prevent high water bills. A big sign is a toilet flapper not closing right, causing a sound in the tank.
Other signs include the toilet flushing by itself or the handle feeling loose. Use the table below to see how serious your problem is.
| Symptom | Likely Cause | Urgency Level |
| Constant trickling | Worn rubber seal | Moderate |
| Ghost flushing | Chain interference | Low |
| Water running loudly | Damaged flapper | High |
| No flush power | Disconnected chain | High |
How to Stop a Running Toilet Flapper Through Troubleshooting
When your toilet won’t stop running, it’s usually because of a simple seal problem. You can fix it yourself by following a step-by-step approach. Start by checking the tank components to see if it’s just a small adjustment or a bigger part issue.
Identifying the Source of the Leak
Start your toilet flapper troubleshooting by looking at the tank. Open the lid carefully and check the water level against the overflow tube. If water keeps spilling into the tube, the fill valve might be too high, or the flapper isn’t sealing right.
Listen for hissing or trickling water sounds. If you hear it even when the tank is full, the flapper is probably the problem. Finding where the leak is happening is key to fixing it.
Testing for Dye Leaks in the Tank
A dye test can show if your flapper is leaking. Just add a few drops of food coloring to the tank water and wait 15 minutes without flushing. If color shows up in the bowl, the flapper isn’t sealing right.
This test helps you know for sure if water is leaking from the tank. If the bowl water stays clear, the leak might be from the fill valve or a cracked tank.
Clearing Mineral Deposits from the Flush Valve Seat
Hard water can leave mineral deposits on the flush valve seat over time. These deposits can stop the flapper from sealing, causing leaks. Cleaning this area properly is often all you need to do for a fix.
Use a soft scouring pad or cloth to gently remove any buildup. Make sure the surface is smooth before testing the seal again. If the flapper doesn’t seal after cleaning, it might need to be replaced.
| Symptom | Likely Cause | Recommended Action |
| Constant Hissing | High Water Level | Adjust Float Height |
| Dye in Bowl | Worn Flapper Seal | Clean or Replace Flapper |
| Water Trickling | Mineral Buildup | Scrub Valve Seat |
| Intermittent Running | Chain Tension | Adjust Chain Length |
Adjusting the Chain and Flapper Alignment
Adjusting your toilet flapper can save you a lot of time and money. Sometimes, your toilet tank just needs a small tweak to work right again. By making sure everything moves together, you can fix running toilet flapper problems without buying new parts.
Correcting Chain Tension for Proper Closure
The chain between your flush handle and flapper often causes trouble. If it’s too short, it won’t let the flapper seal properly. On the other hand, a chain that’s too long can get caught under the flapper, causing it to stay open.
To get the right tension, follow these steps:
- Make sure there’s about half an inch of slack in the chain when the handle is down.
- Adjust the clip on the chain to make it shorter or longer as needed.
- Test the flush handle to see if the flapper moves smoothly up and down.
Aligning the Flapper with the Flush Valve Opening
The flapper must sit perfectly centered over the flush valve opening. If it’s not, water will leak into the bowl. Check that the flapper’s hinges are securely attached to the overflow tube.
If the flapper moves during flushing, it won’t seal right. Gently push it into place to make sure it covers the opening evenly. A consistent, airtight seal is key to stopping water flow once the tank is empty.
Checking for Obstructions in the Tank
Debris or mineral deposits can stop the flapper from moving. Hard water can build up on the flush valve seat, making it hard for the rubber to seal. Look for any loose objects or sediment at the bottom of the tank.
Use a soft sponge or non-abrasive cloth to remove mineral crust. Keeping the valve seat clean lets the flapper seal the tank every time. Regular maintenance of these parts will keep your toilet working well for years.
Replacing a Worn or Damaged Flapper
Replacing a worn or damaged flapper can fix your toilet. If your toilet flapper leaking, it’s likely the rubber is old or warped. A good toilet flapper repair keeps your bathroom running smoothly and quietly.
Selecting the Correct Replacement Flapper
Before you start replacing toilet flapper, find the right model for your tank. Flappers come in different sizes, usually two to three inches in diameter.
Look in your toilet’s manual or check for a model number inside the tank. Picking the correct size is key for a tight seal and to avoid leaks.
Removing the Old Flapper Assembly
First, turn off the water supply valve behind the toilet. Then, flush the toilet to empty the tank. This makes it easier to work without water getting in the way.
- Disconnect the lift chain from the flush lever arm.
- Slide the flapper ears off the pins on the overflow tube.
- Remove the old unit and clean the flush valve seat of any debris.
Installing the New Flapper and Testing the Seal
After cleaning, put the new flapper on by sliding its ears onto the pins. Connect the lift chain, making sure it has just the right amount of slack.
Ensuring a Proper Fit on the Flush Valve
The flapper must fit perfectly over the flush valve opening. If it’s not centered, water will leak into the bowl. Proper alignment is essential for a quiet and efficient toilet.
Verifying the Flush Cycle Performance
Turn the water supply back on and let the tank fill up. Do a few test flushes to see how the flapper moves. A good toilet flapper repair means the flapper drops down right after each flush, sealing every time.
Conclusion
Fixing your bathroom saves a lot of water and money. A good toilet flapper is key to saving water at home.
You can now spot leaks and do simple fixes yourself. Brands like Korky and Fluidmaster make it easy with their reliable parts.
Regular checks stop small leaks from becoming big problems. Keep your plumbing in top shape by checking tank parts twice a year.
Share your repair tips with neighbors. Your efforts will help them keep their bathrooms quiet and efficient for years.
For more inspiration and ideas, visit: Hoome Estate